The Process
The Process of Astrophotography:
There is more to the process than simply pointing the scope to the correct point in the sky then opening up the camera shutter. In addition to every single timed exposure of the object you’d like to capture, there are numerous other "exposures" need to make a great shot including: Dark Frames, Bias Frames, and Flat Frames. The above doesn't even include the steps it takes to keep your scope pointing at the exact spot in the sky and keep it there for HOURS on end. A short list for that to happen includes, perfect polar alignment, imaging and guide scope alignment, proper mount tracking, and software control of the guide camera.
PAGE UNDER CONSTRUCTION
Finding the object:
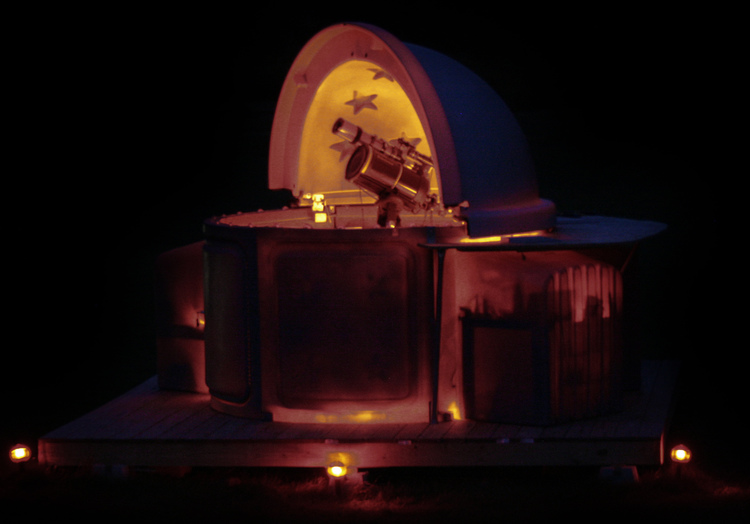
With today’s computer mounts, any object in the sky can be found after a simple two, three, or four-star alignment. This is my mount, a Celestron CGE that has been HyperTuned by Deep Space Products. This CGE has been mounted on a 4ft cement pier sounded by a 12x12ft floating deck that I can walk on and not vibrate the mount. The mount bracketed to the pier and leveled on an aluminum plate. The angle of the mount is approx. 44.4 degrees, the latitude of my observatory, and is pointed celestial north.
This is the command center. The computer controls it all: tracking, the guiding with a continuous exposure camera, and the imaging camera. The USB cable on the left links to a powered splitter near the base of the scope. The software used is Nebulosity by Craig Stark: www.stark-labs.com. I also use his guiding software - PHD.
This is the control system for the dew protection. Vermont nights produce a lot of dew. You need a heating system to keep each scope tube only slightly warmer than the ambient air.
This is the power supply for all the components. I only recently added the timer outlet as an on/off switch for my imaging camera. The SBIG camera has a fan that cools the TEC (thermal electric cooler) of the CCD chip. The fan stays on as long as it's plugged in. This was my cheap solution to an expensive problem.
The red box on the back of the assembly is the camera. It is basically an aluminum box with a CCD chip in the front. What makes the camera great for astro-imaging is that it has it's own cooling system to bring the chip's temp down to -25degrees. CCD chips produce less noise at lower temps and if you can control the exact temps for you images and darks and flats, you can produce a better image.
The blue scope on top is an ED80mm Apochromatic scope that I do image with quite a bit. In this configuration it is being used as my guide scope. The blue box at the back of the scope is another CCD camera being used as a guiding camera.
So this is the whole assembly: two scopes, two finders, two cameras, filterwheel, focal reducer, anti dew system, and mount.


